

How To Grow Pea Shoots – All Year Round
You don’t need green fingers to grow your own pea shoots and sprouts! Ideal for first-time growers, yielding a harvest after just 7-10 days. Growing your own is incredibly easy and their vibrant green colour is a welcome addition to any countertop or windowsill. In this post, I’ll show you the various growing methods that I’ve used for successful bumper crops.
Why I think you’ll love growing your own pea shoots
-You don’t need any fancy equipment to produce sweet, tender pea sprouts and shoots.
-These nutrient-dense vitamin bombs grow really quickly.
-You can grow them indoors on your windowsill or outdoors in small pot or even a raised bed!
-They’re an excellent choice for growing in shady spaces.
-They grow well indoors over winter – just sow a tray or two and keep next to your brightest window.
-Sewing every second week gives you a continuous supply.
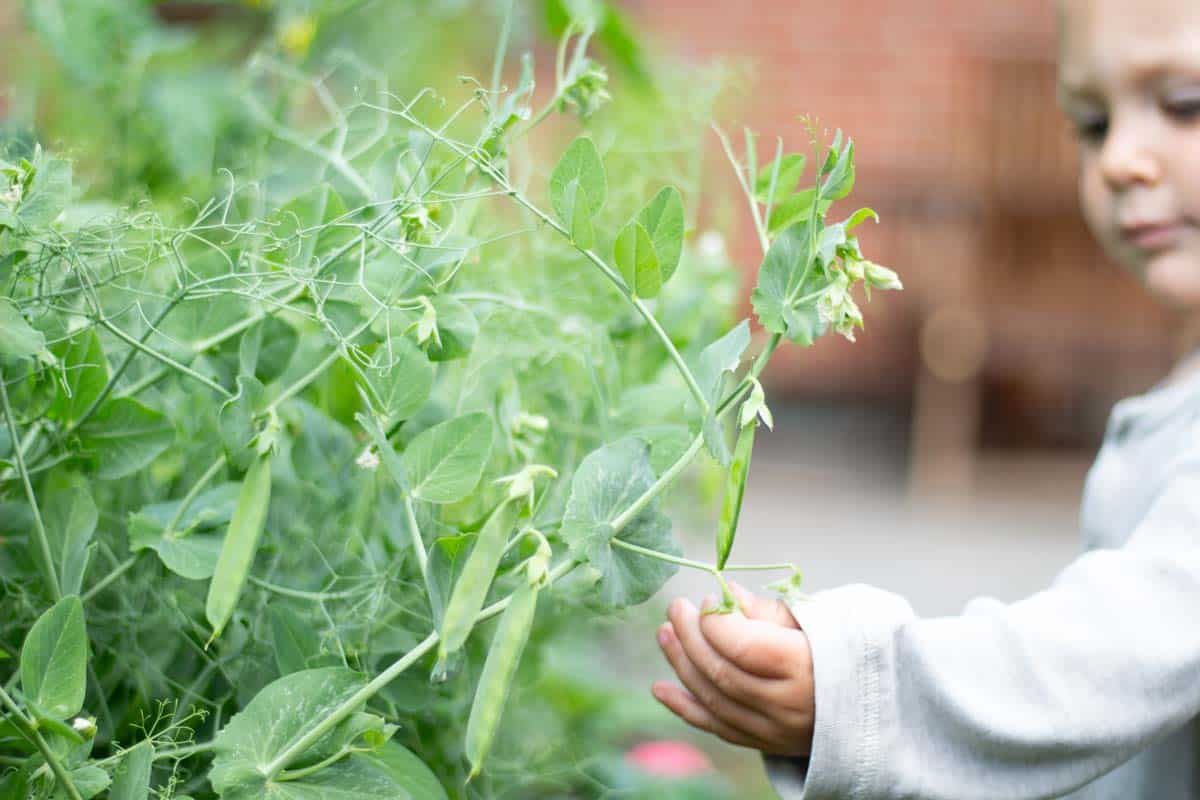
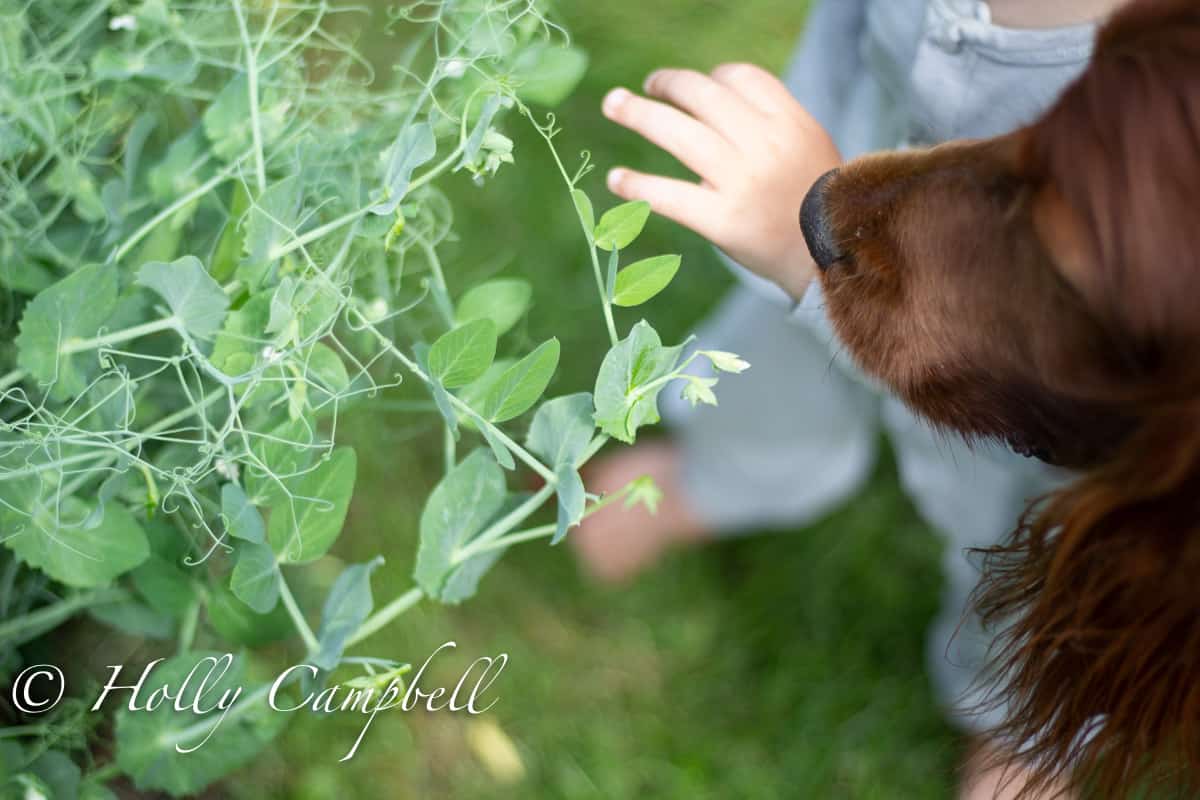
-Kids love helping with planting and harvesting. Growing your own pea shoots is a fantastic way to start a kitchen garden! You might also enjoy learning How To Grow Wildflowers In Pots And Containers!
Equipment
You need very little equipment to achieve success growing pea shoots, but there are some essentials that I’ll explain in more detail below.
Containers
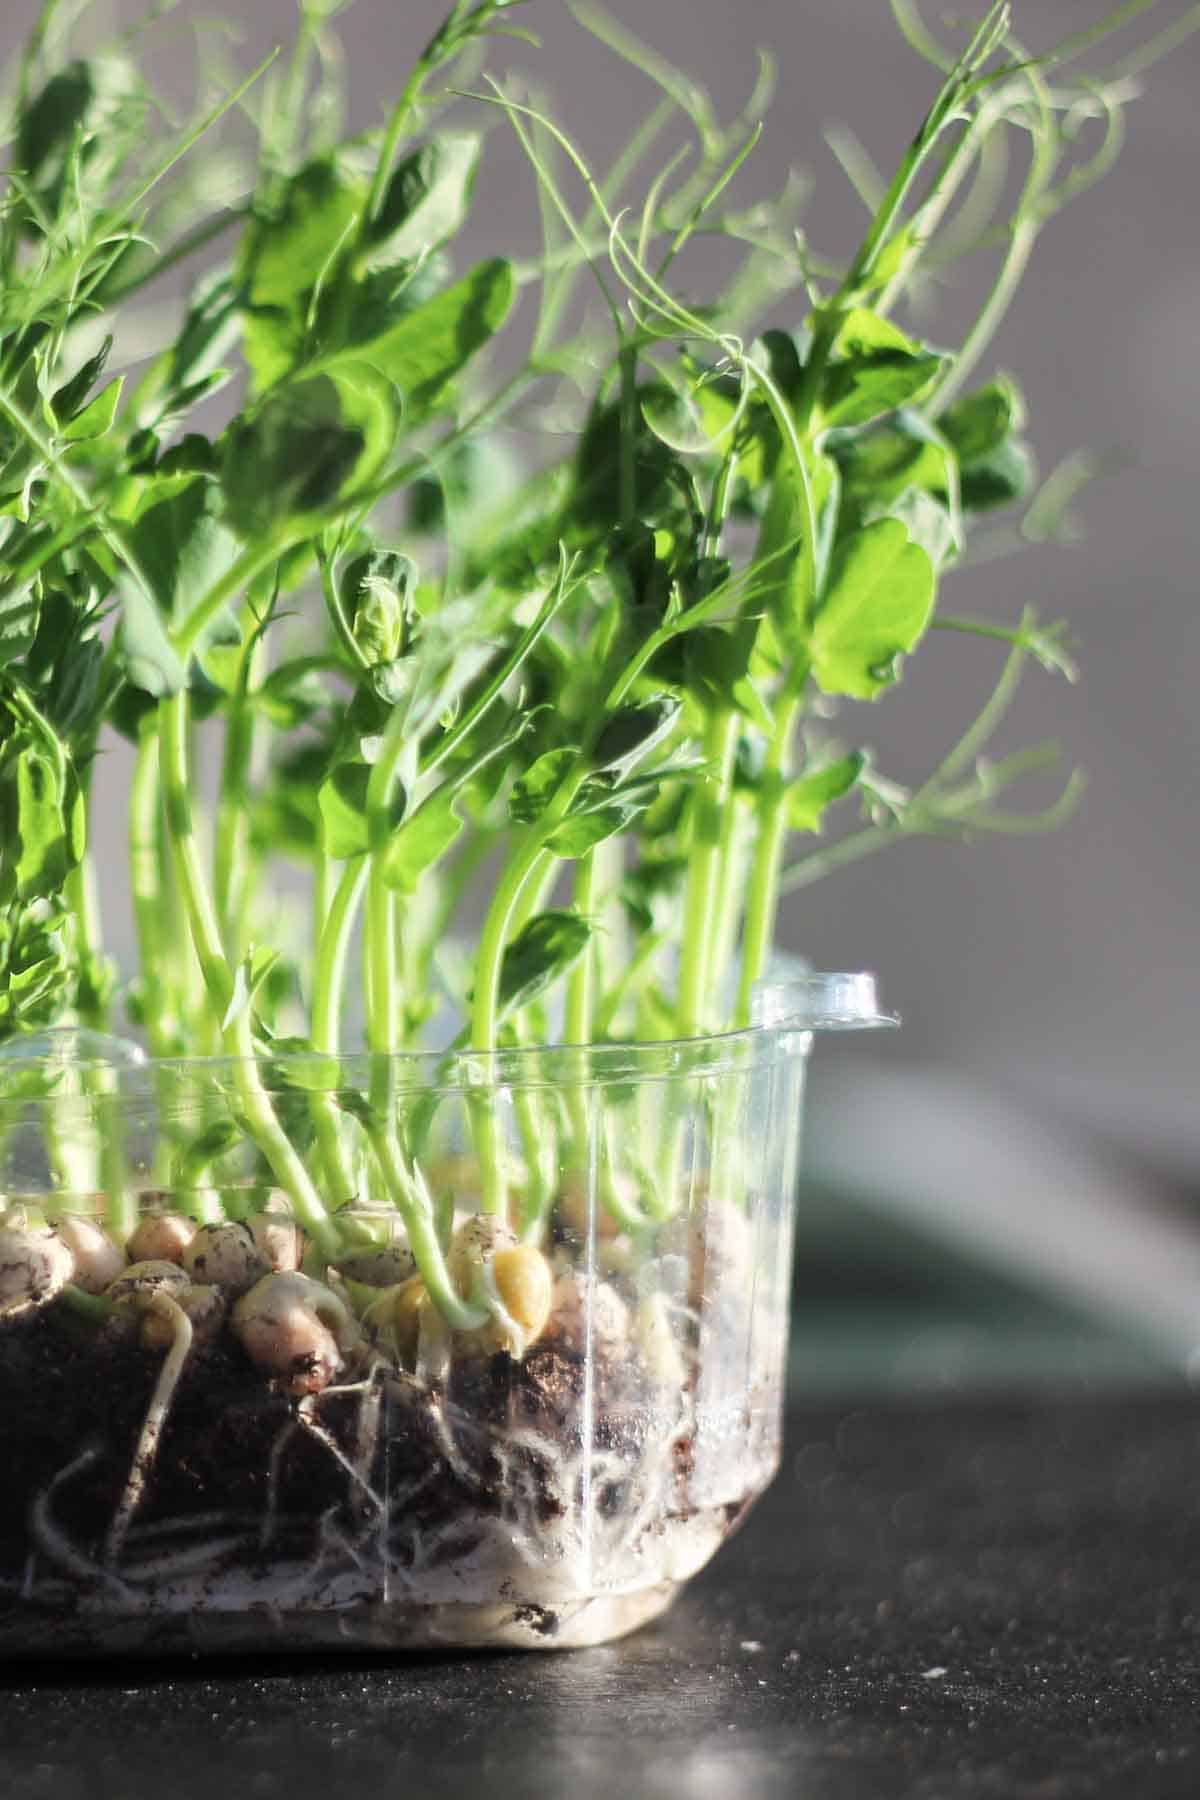
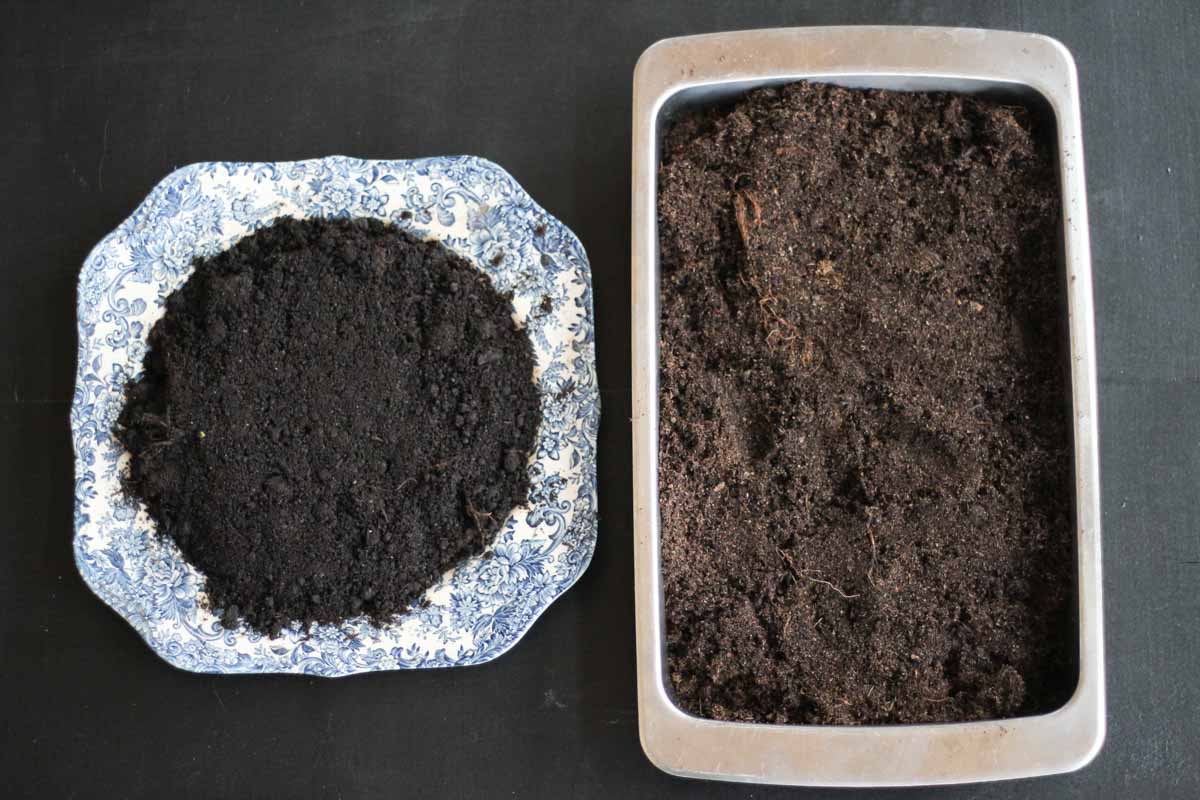
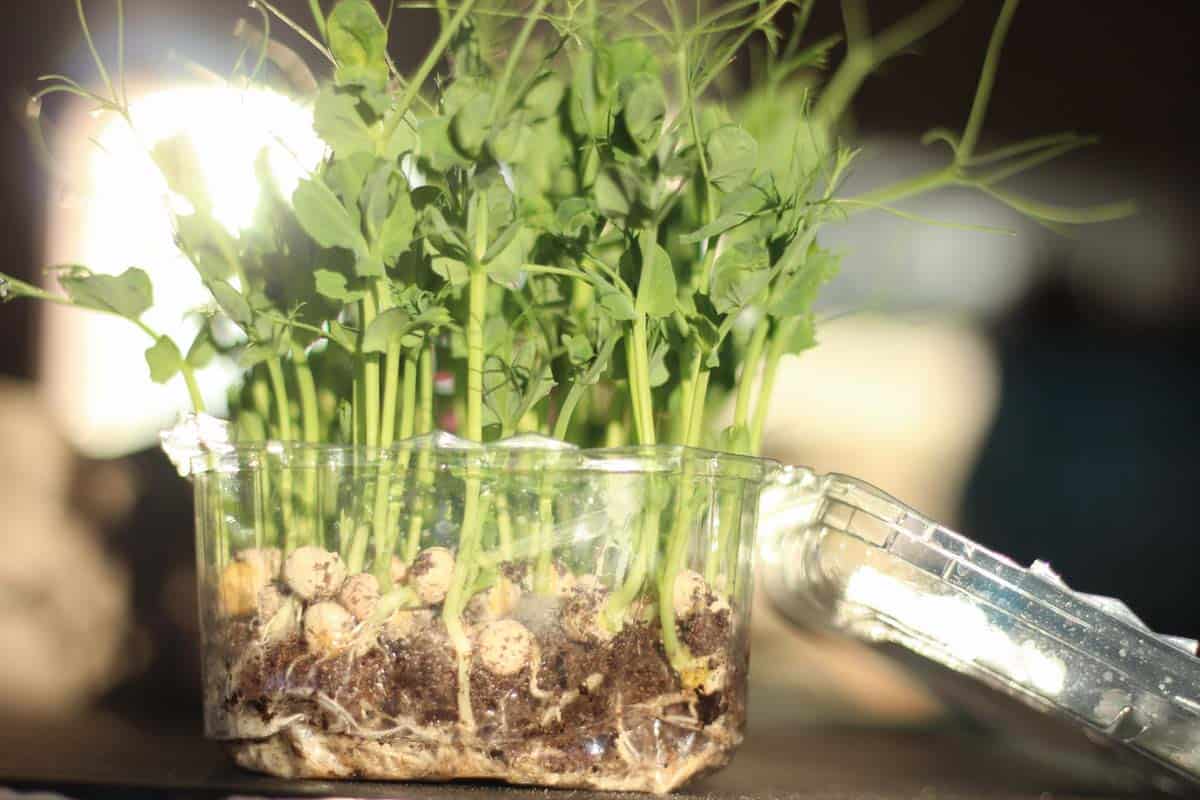
-The type of container you need will depend on whether you plan to grow them indoors or outdoors. I often use recycled plastic fruit and ice-cream containers, but I’ve also used baking sheets and a cake tin.
Growing outdoors gives you more choice as the container doesn’t need to fit on a windowsill. A small pot, a plastic tub, or even a raised bed works!
Garden soil or compost
– You will need some garden soil or compost. You can often pick up small bags cheaply at most supermarkets.
Pea seeds
-Whole yellow or green peas from the supermarket are as good as pea seeds from a garden center. I’ll explain a little more about this below.
My best tips for growing pea shoots indoors:
-Growing pea shoots indoors means you can have a fresh harvest all year round, even in winter! They need one or two hours of sun a day ( although they thrive best and are greener with more) so choose your brightest window.
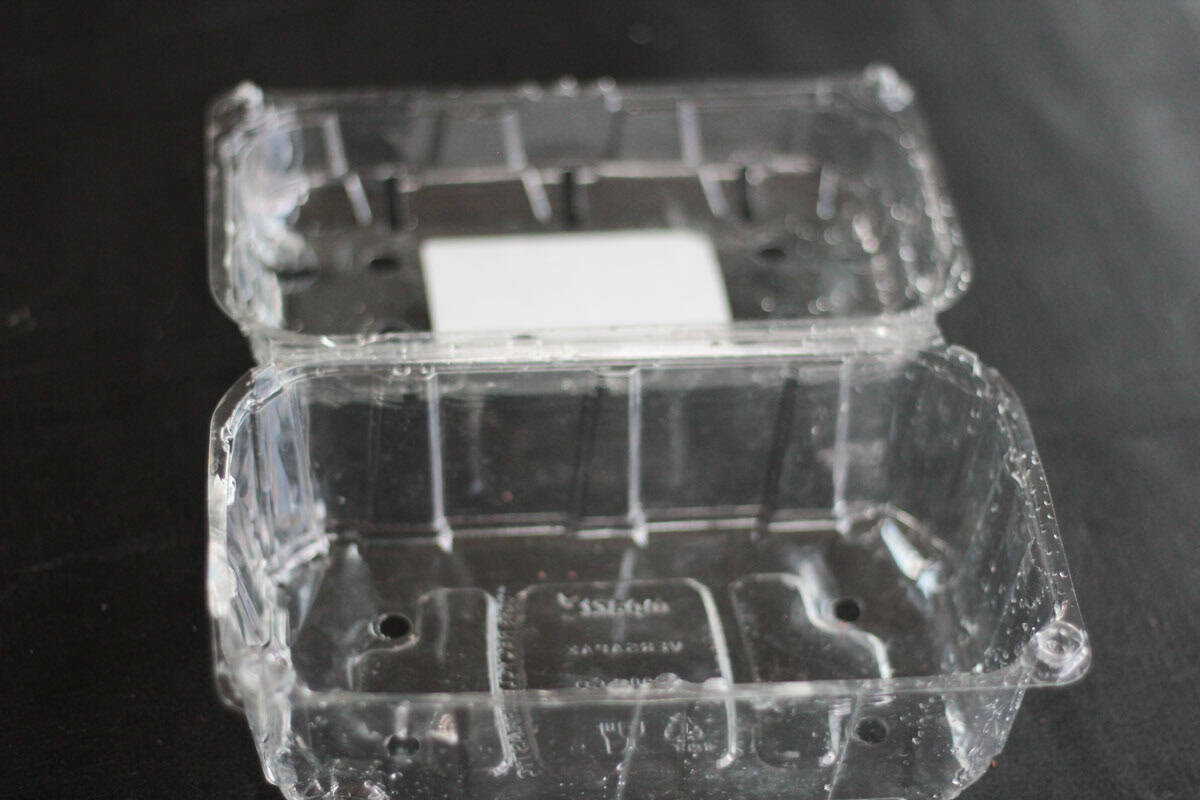
-Most containers will work fine. If they have holes at the bottom your guaranteed that the soil will not become saturated, BUT the container will need a tray underneath to catch the water that drains through when you water.
-If you decide on a container without holes add some sand or gravel before you add soil. This will help with drainage.
– I have experimented with containers of various shapes and sizes over the years, all of which have been successful. The best containers have a depth of at least 3-5 cm (1.5-2 inches).
-Continue watering your pea shoots after you’ve harvested so that you can get a second havest!
My best tips for growing pea shoots outdoors:
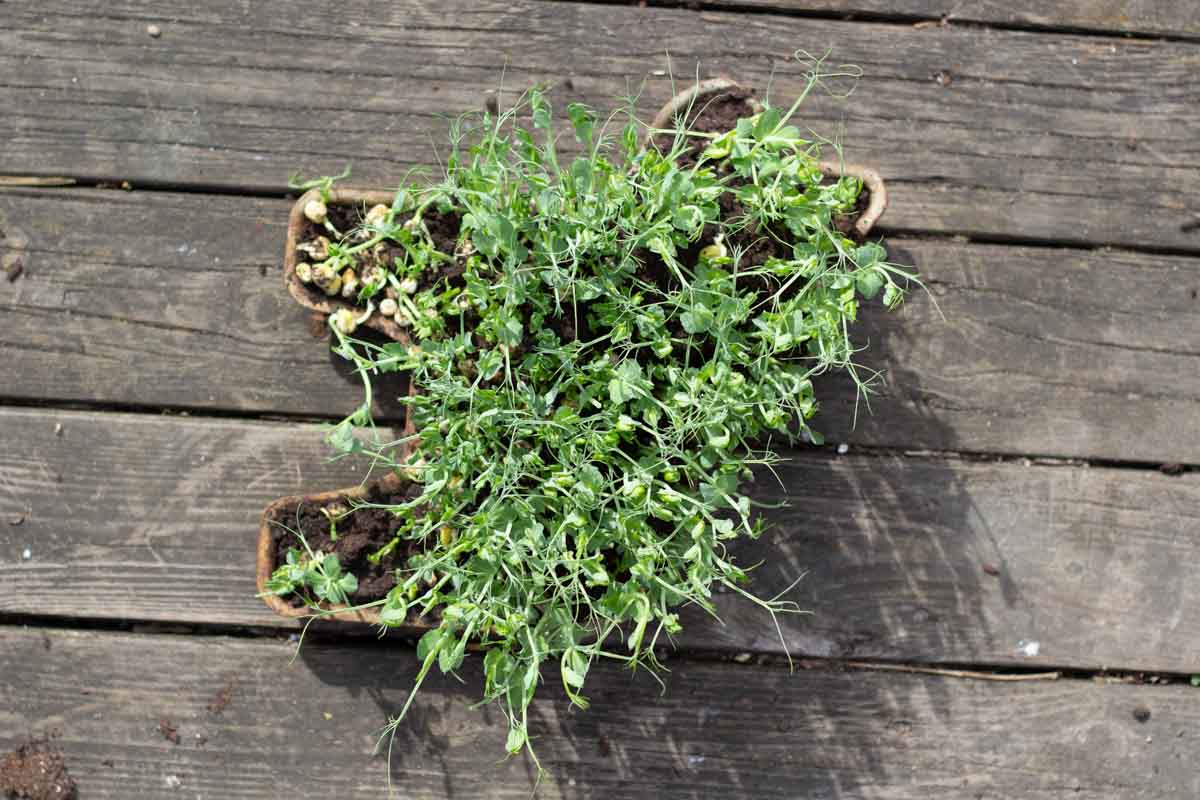
-Growing peas in a pot outdoors is so easy! You will need a tray, a flower pot, or a container with holes. I’ve often used a raised bed to grow larger amounts of shoots.
-You can plant early in spring, as soon as the soil is thawed and the air is a little warmer and the risk of frost is over. Peas are hardy and will give you an early harvest.
-You can add holes to almost any container using a power drill. A hammer and nail are also helpful for making holes. The holes are necessary to allow any excess water to drain away in the event of heavy rain.
If you use a large pot, sow the pea seeds with more space between them and allow the plants to mature, giving you the opportunity to harvest both the pea leaves and flowers.
Which pea seeds to use?
-A packet of whole yellow or green peas from the supermarket is as good as pea seeds from a garden center. You can pick them up cheaply at the supermarket or whole foods store.
-You also pick up seeds from your garden center, but it’s not cost-effective, as you need quite a few. It’s cheaper and easier to use shop-bought peas.
-I’ve also used seeds that I have saved from previous years’ pea harvest. This has been an interesting experiment, as each pea has a slightly different characteristic and flavour.
-The amount of seeds you will need depends on the size of your container. You can plant quite densely, as the plants don’t need nutrients to mature, you’ll be harvesting them before that.
How to grow your own pea shoots
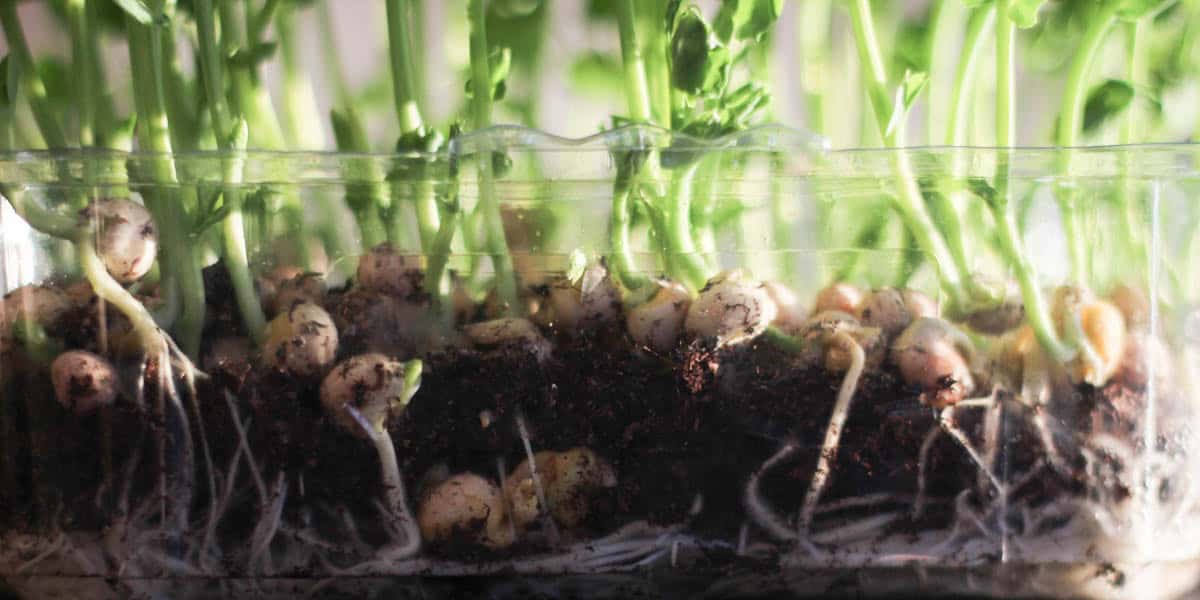
Step 1: Soak
Soak them overnight in a bowl of water; they will swell to nearly double the size, so choose a bowl that is large enough and top up with water if necessary.
(I have often sown pea shoots with enthusiastic children and skipped this step without any issues. But to guarantee even germination, soaking is recommended. )
They will swell after soaking, but aim to leave a little space between each pea if possible. They don’t need a lot of nutrition, so it’s okay for them to fit snugly together.
Step 2: Prepare your container.
If you need to add holes to your container use a power drill or hammer and nail.
Add a few centimeters /1 -1.5 inches of soil to the bottom of the container.
Step 3: Sew pea seeds
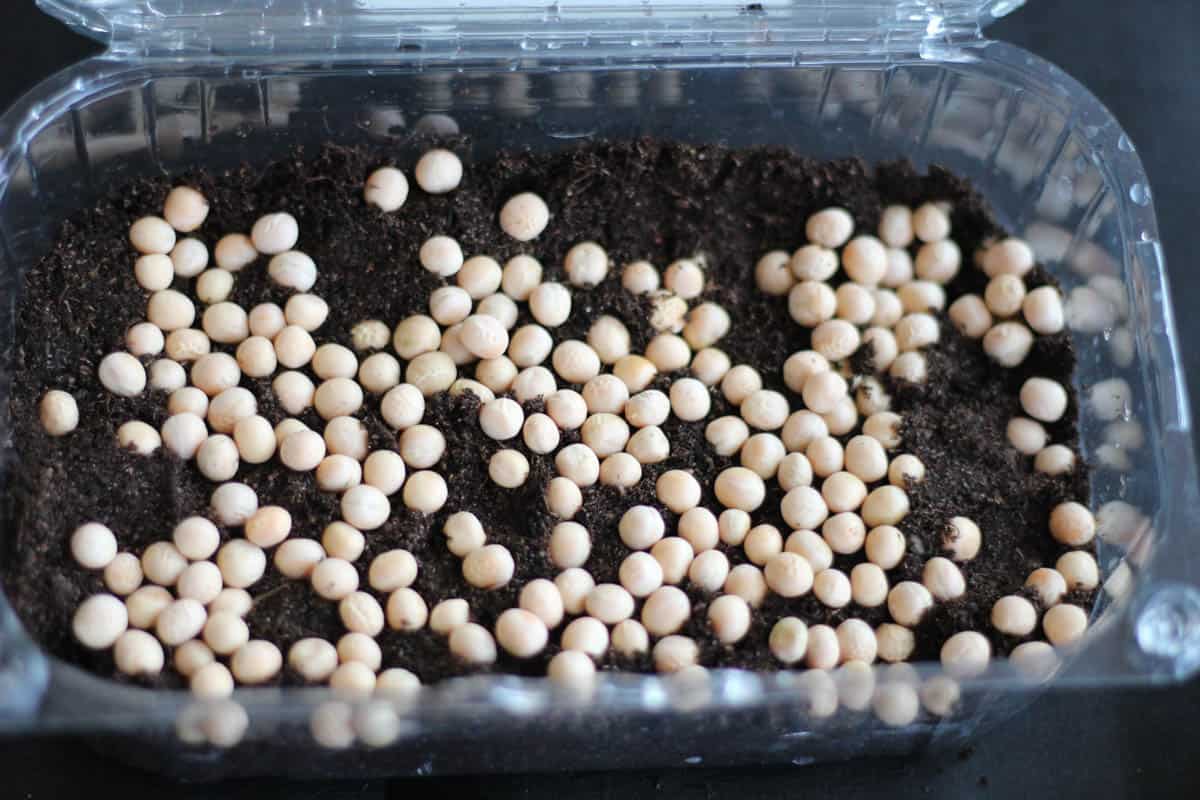
Scatter the pea seeds over the soil.
Press down lightly and top with a thin layer of soil, about 1 cm / 0.5 inch is plenty.
Top Tip:
If you plant the seeds in a garden container or raised bed, don’t skip the overnight soaking and use a generous spacing between seeds. The plants can grow taller in these containers and and give you several harvests. ( You can even harvest pea leaves, flowers adn some pea pods when the shoots grow out!)
Step 4: Water
Water the soil.
Be careful not to drown the soil, especially if you have chosen a container without holes (as I often do). The soil should be quite moist but not wet!
Step 5: Choose a place to grow
Place the container on a windowsill or a bright kitchen counter, keeping an eye on the soil so it doesn’t dry out.
Keep the compost moist – check it daily in hot weather, every other day in cooler weather, and water as needed. If growing pea shoots outside, follow the same principles.
My best tips for harvesting pea shoots
-You should see the first sign of growth after 2 -3 days and can make your first harvest when the shoots are a few inches tall but waiting 10 days until your shoots are about 10cm / 4 inches tall will give you a larger harvest.
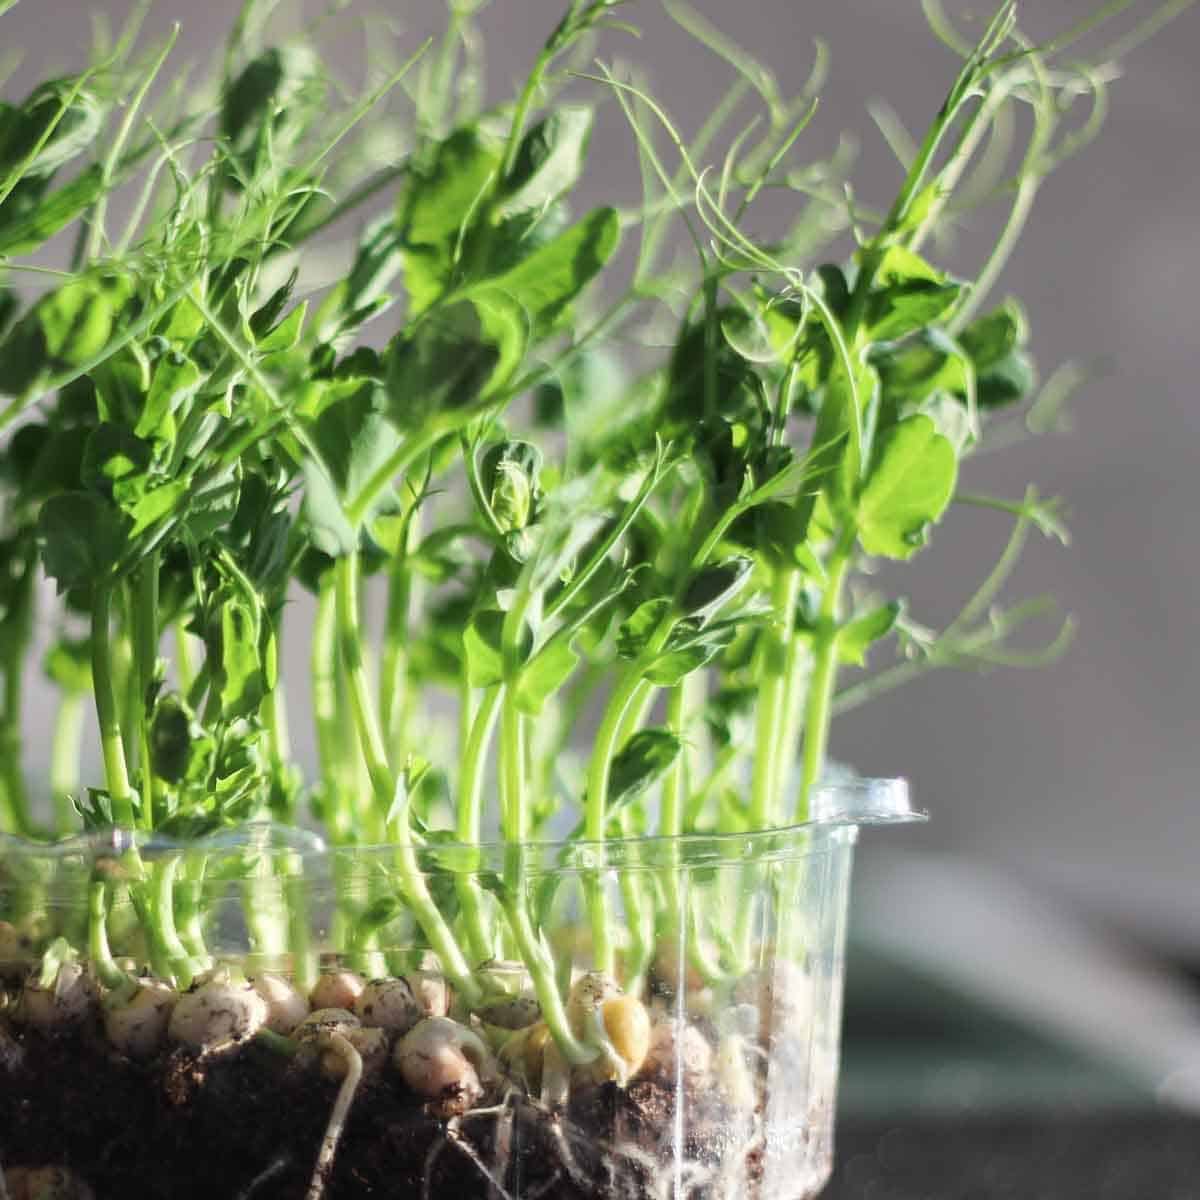
-Use scissors to cut the stem about 2cm above the soil.
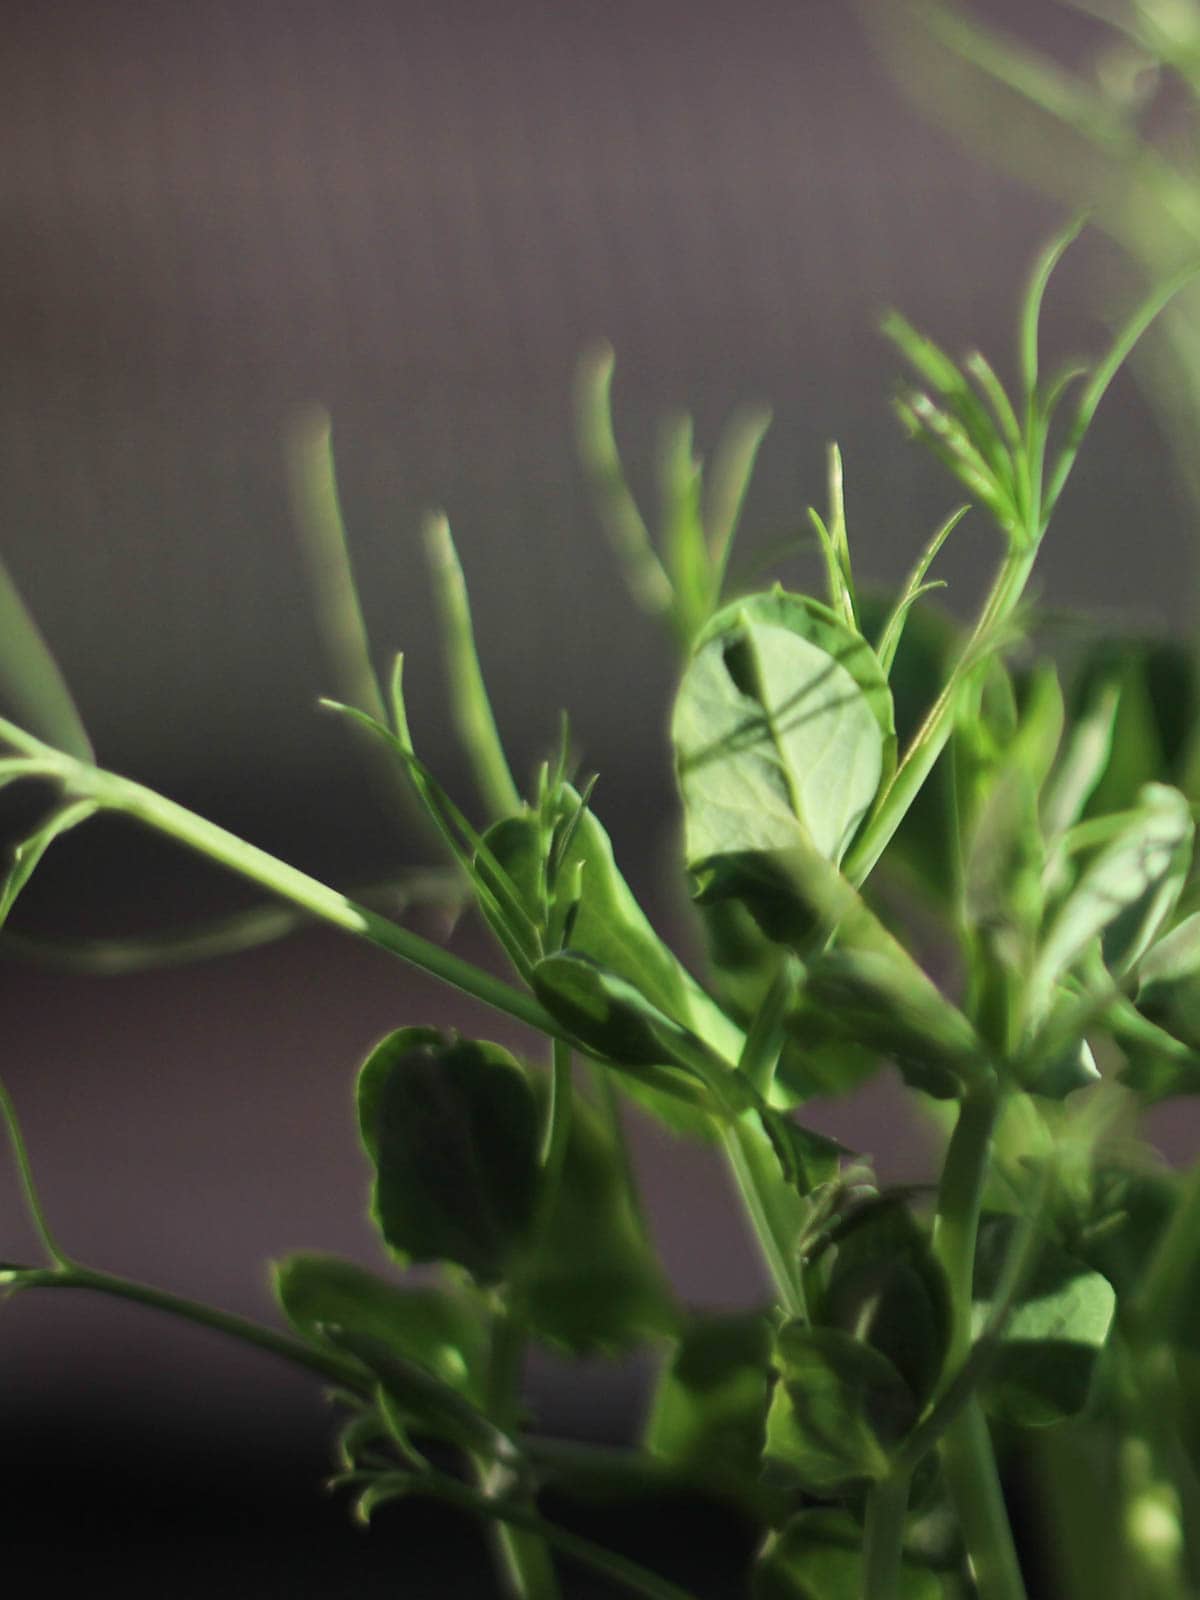
-The shoot is the tender tip of the vine. However, the entire plant is edible, including the leaves, stem, blossoms, and tendrils. They have a delicate, pea-like flavor.
-Continue to water and your pea shoots will regrow for at least one more harvest.
-Sowing a new batch of peas every second week will give you a continuous supply.
-I plant pea shoots outdoors in the beginning of April and can harvest all summer! I find that tight spacing means I need to water and fertilize from the middle of summer onwards, so it’s a good idea to give seeds more space if you’re planning on allowing the plants to grow for a longer than a few weeks.
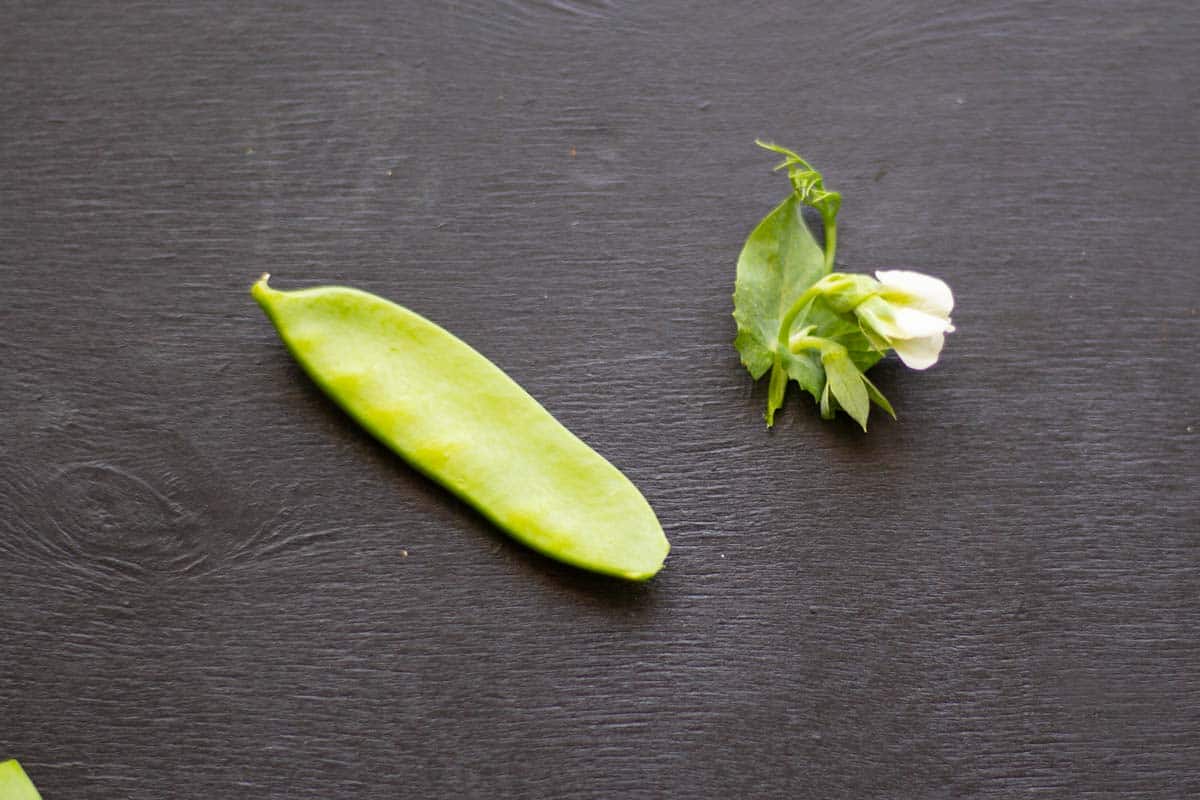
-If you allow outdoor plants to mature, you will have a harvest of fantastic pea leaves and flowers that are delicious added to summer salads! Remove the top leaves every couple of days to slow the plant’s growth and extend your harvest time.
-Allowed to mature fully, pea flowers will produce pea pods. Depending on the variety of peas used they can be very tasty! Usually not as sweet as varieties bred for peas, they are still edible.
Troubleshooting
Occasionally, peas don’t germinate. This may be due to the seeds being too old, the temperature being too cold, or the soil becoming too dry.
Try again with this in mind and if they fail to germinate again I would recommend trying a different brand or type of pea.
White mold on the surface of the soil is a sign that the soil is or has been too wet. It’s fine to eat the pea shoots that have grown, but I would not recommend regrowing. Start a new batch, and experiment with how much you water them.
Serving suggestions
-Pea tips and pea shoots can be eaten raw or cooked. Pea tips are more commonly cooked, while the sprouts or stems are more commonly eaten raw.
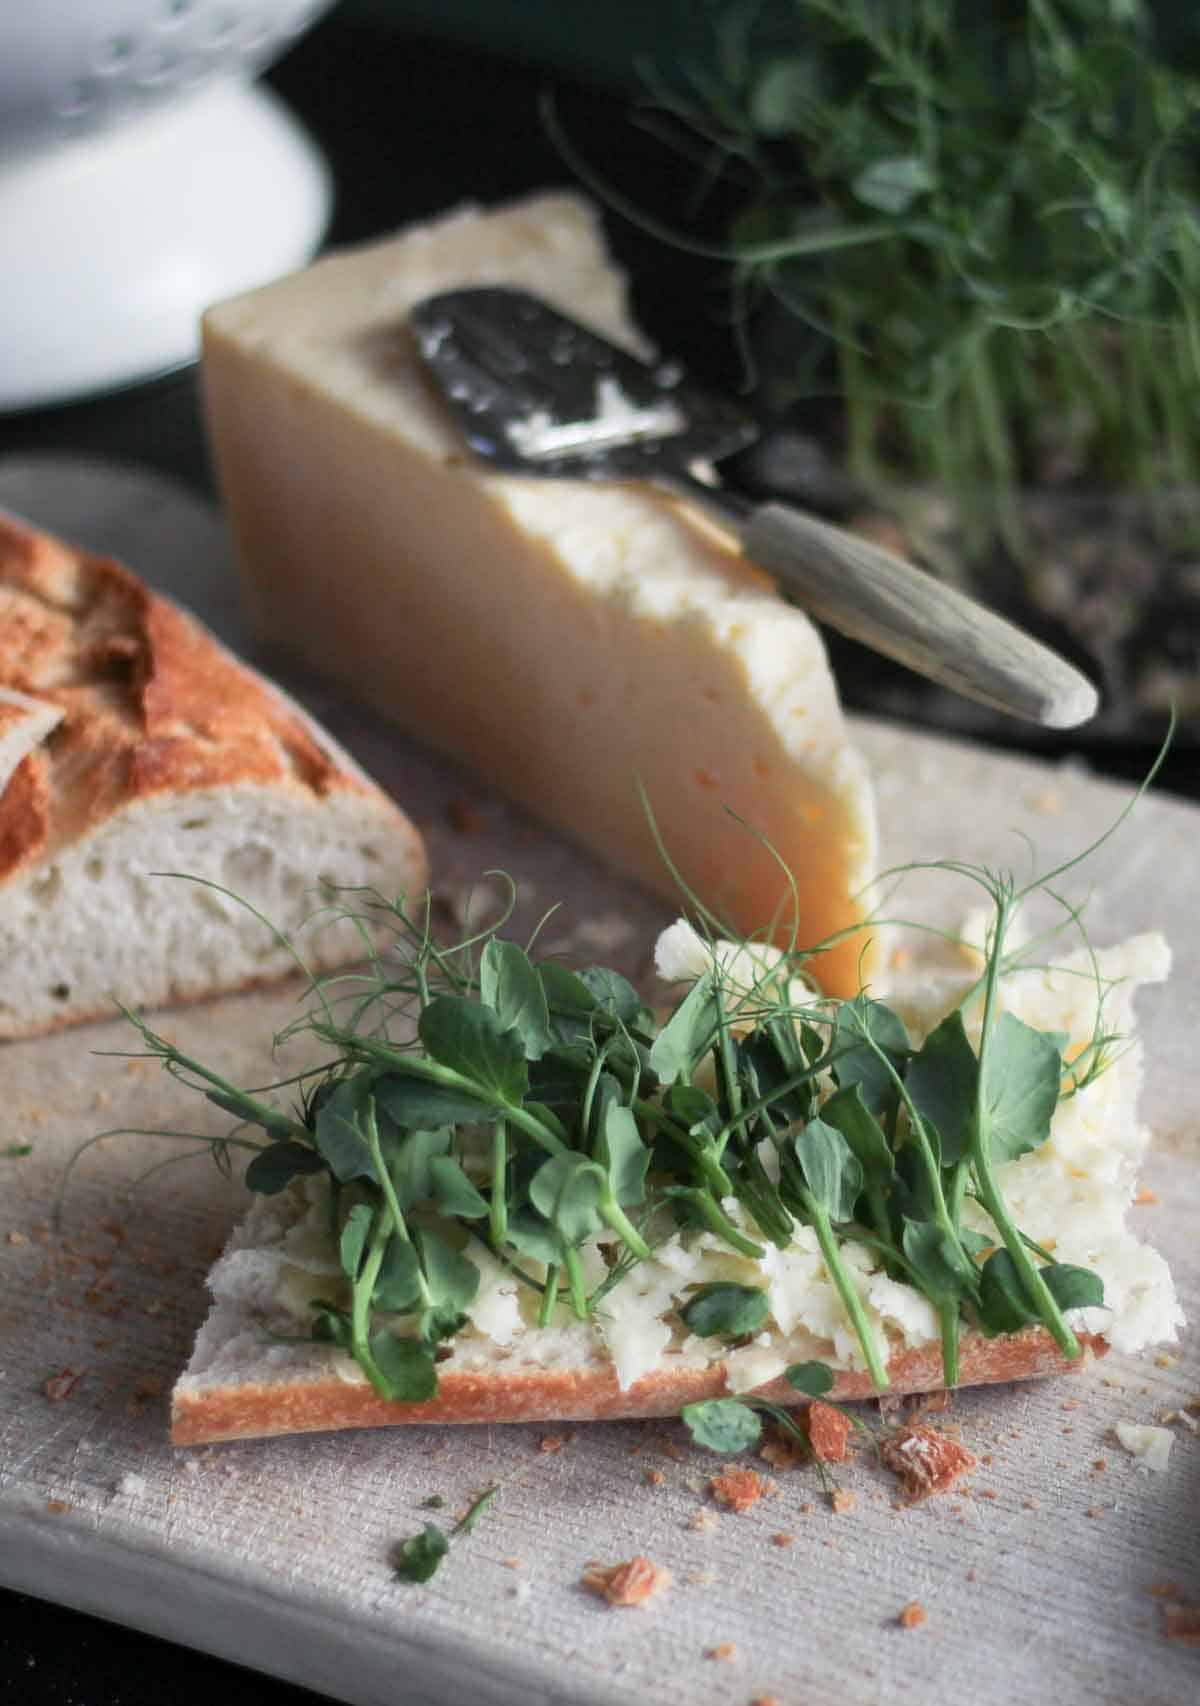
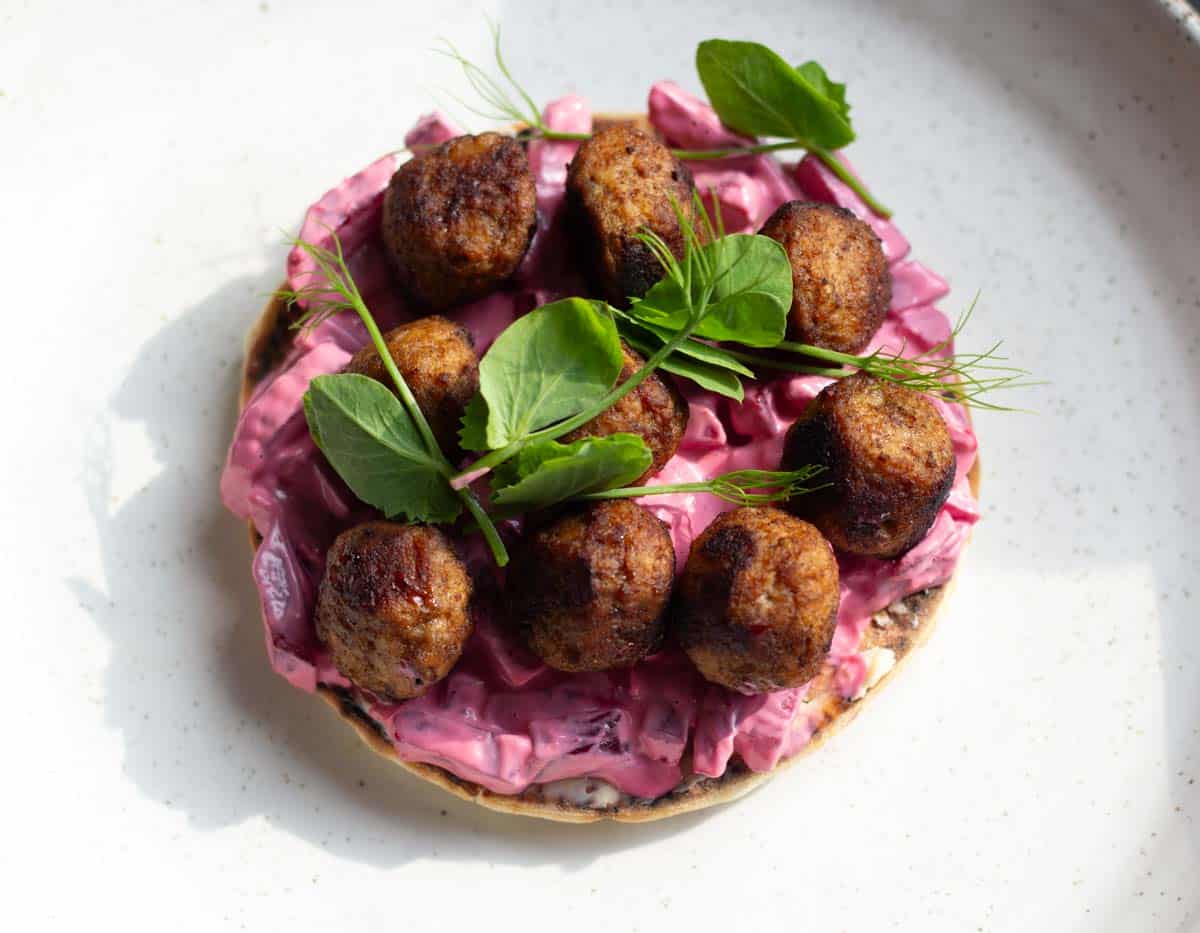
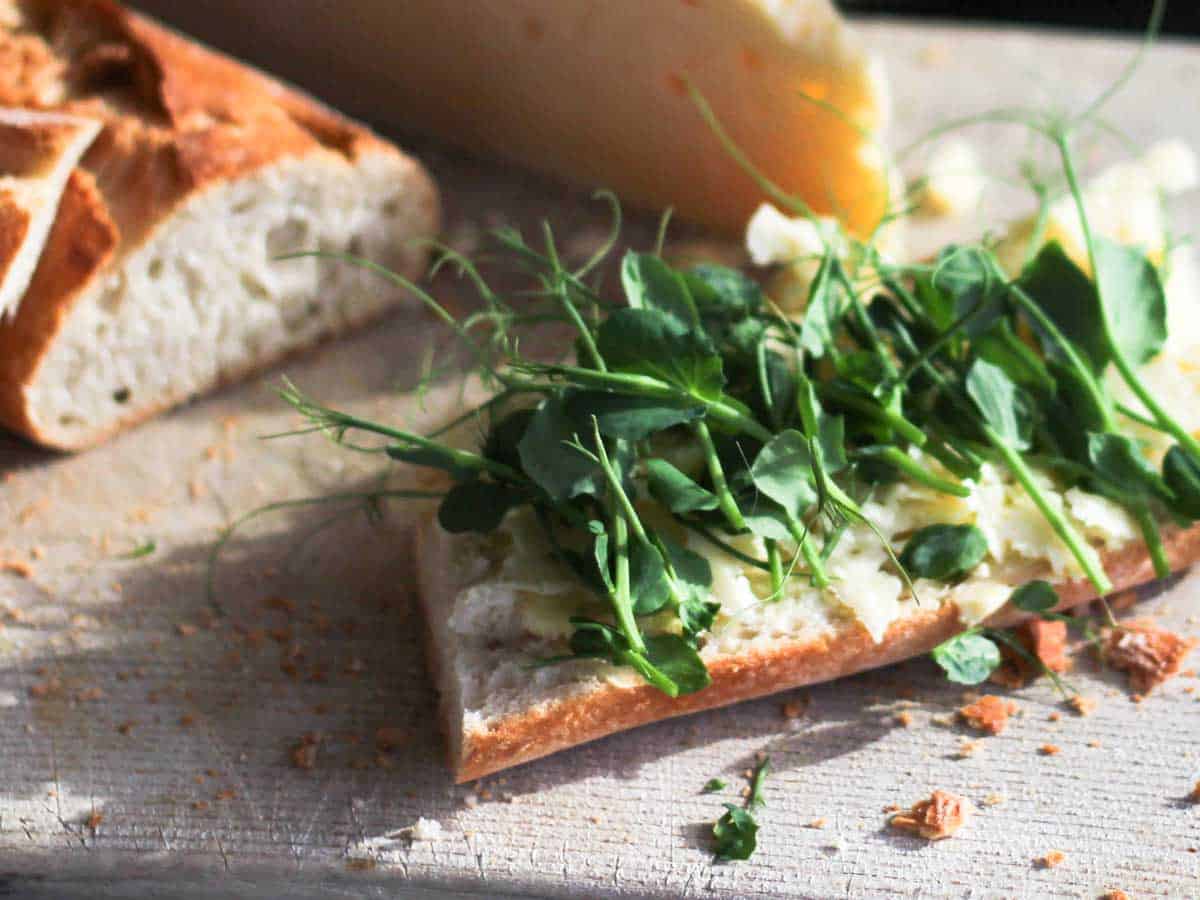
-Fresh pea shoots are a wonderful compliment to salads and make a simple, nutritious garnish. I love to use them when I make a Swedish Meatball Sandwich!
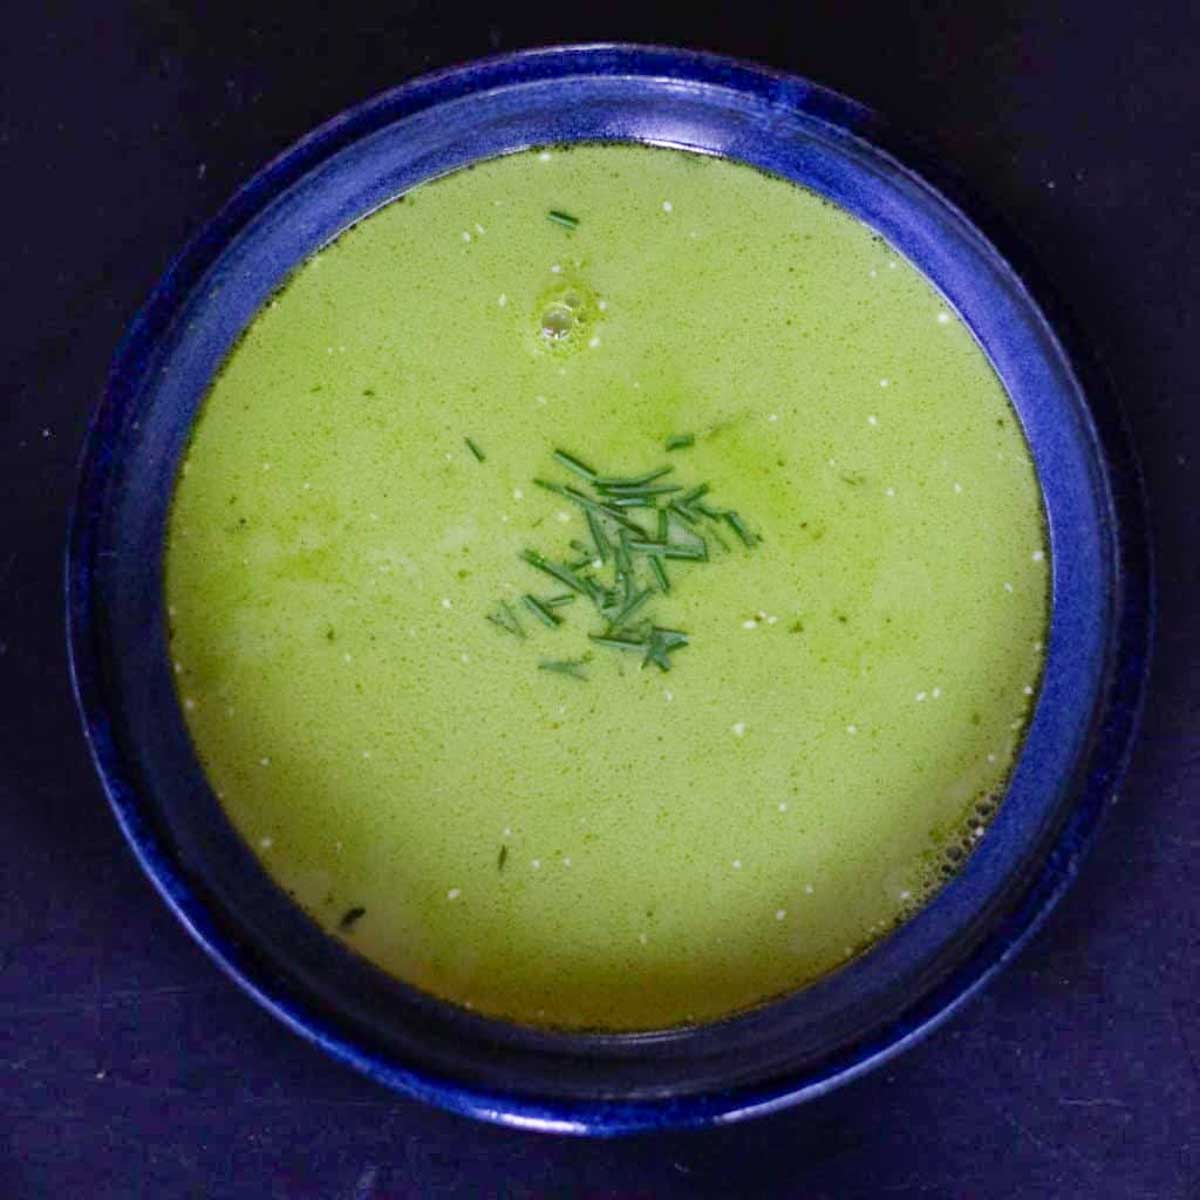
Pea Shoot Soup is really easy to make and extra budget friendly if you grow your own pea shoots!
-Larger pea shoots are delicious when stir-fried with a little chili and garlic until just wilted!
How To Grow Pea Shoots

You don’t need green fingers to grow your own pea shoots and sprouts! Ideal for first-time growers, yielding a harvest after just 7-10 days. Growing your own is incredibly easy and their vibrant green colour is a welcome addition to any countertop or windowsill. In this post, I’ll show you the various growing methods that I’ve used for successful bumper crops.
Materials
- Containers -The type of container you need will depend on whether you plan to grow them indoors or outdoors. I often use recycled plastic fruit and ice-cream containers, but I’ve also used baking sheets and a cake tin. Growing outdoors gives you more choice as the container doesn’t need to fit on a windowsill. A small pot, a plastic tub, or even a raised bed works!
- Garden soil or compost– You will need some garden soil or compost. You can often pick up small bags cheaply at most supermarkets.
- Pea seeds -Whole yellow or green peas from the supermarket are as good as pea seeds from a garden center. I’ll explain a little more about this below.
Tools
- Power drill or hammer and nail.
- Watering can or plastic water bottle.
Instructions
Step 1: Soak
Soak them overnight in a bowl of water; they will swell to nearly double their size, so choose a bowl that is large enough and top up with water if necessary.
(I have often sown pea shoots with enthusiastic children and skipped this step without any issues. But to guarantee even germination, soaking is recommended. )
They will swell after soaking, but aim to leave a little space between each pea if possible. They don’t need a lot of nutrition, so it’s okay for them to fit snugly together.
Step 2: Prepare your container.
If you need to add holes to your container, use a power drill or hammer and nail.
Add 1 -1.5 inches of soil to the bottom of the container.
Step 3: Sow pea seeds
Scatter the pea seeds over the soil.
Press down lightly and top with a thin layer of soil, about 1 cm / 0.5 inch is plenty.
Step 4: Water
Water the soil.
Be careful not to drown the soil, especially if you have chosen a container without holes (as I often do). The soil should be moist, but not wet.
Step 5: Choose a place to grow
Place the container on a windowsill or a bright kitchen counter, keeping an eye on the soil so it doesn’t dry out.
Keep the compost moist – check it daily in hot weather, every other day in cooler weather, and water as needed. If growing pea shoots outside, follow the same principles.
Notes
-You should see the first sign of growth after 2 -3 days and can make your first harvest when the shoots are a few inches tall but waiting 10 days until your shoots are about 10cm / 4 inches tall will give you a larger harvest.
-Use scissors to cut the stem about 2cm above the soil.
-The shoot is the tender tip of the vine. However, the entire plant is edible, including the leaves, stem, blossoms, and tendrils. They have a delicate, pea-like flavor.
-Continue to water and your pea shoots will regrow for at least one more harvest.
-Sowing a new batch of peas every second week will give you a continuous supply.


